Compiling your Android Studio project into an APK (Android Package Kit) is a crucial step in sharing your app with the world. It’s the process of bundling all your code, resources, and assets into a single installable file that users can download and run on their Android devices. This guide will walk you through the entire process, from setting up your project to generating a signed APK ready for distribution.
Understanding the APK Compilation Process
Before we dive into the how-to, let’s understand what happens behind the scenes when you compile your Android Studio project into an APK. Here’s a simplified breakdown:
- Compiling Resources: Android Studio compiles all your XML layouts, drawables, and other resources into a binary format optimized for Android.
- Compiling Source Code: Your Java or Kotlin code is compiled into Java bytecode.
- DEX Conversion: The bytecode is further converted into Dalvik Executable (DEX) format, which is optimized for Android’s runtime environment.
- Packaging: All the compiled components, along with your app’s manifest file (AndroidManifest.xml) and other metadata, are packaged into a single APK file.
- Signing: The APK is digitally signed with your developer certificate to verify its authenticity and ensure it hasn’t been tampered with.
- Aligning: The APK undergoes a process called “zipalign” to optimize its internal structure for faster loading on Android devices.
Methods to Compile Android Studio to APK
Android Studio offers two main methods to compile your project into an APK:
1. Generating a Debug APK
Debug APKs are meant for testing and debugging purposes during development. They are signed with a debug key provided by Android Studio and are not intended for distribution.
Steps to Generate a Debug APK:
- Build -> Build Bundle(s) / APK(s) -> Build APK
Android Studio will compile your project and generate a debug APK in the app/build/outputs/apk/debug/ directory of your project folder.
2. Generating a Signed (Release) APK
A signed APK is essential for distributing your app on the Google Play Store or other app distribution platforms. It requires you to create a private signing key that uniquely identifies you as the developer.
Steps to Generate a Signed APK:
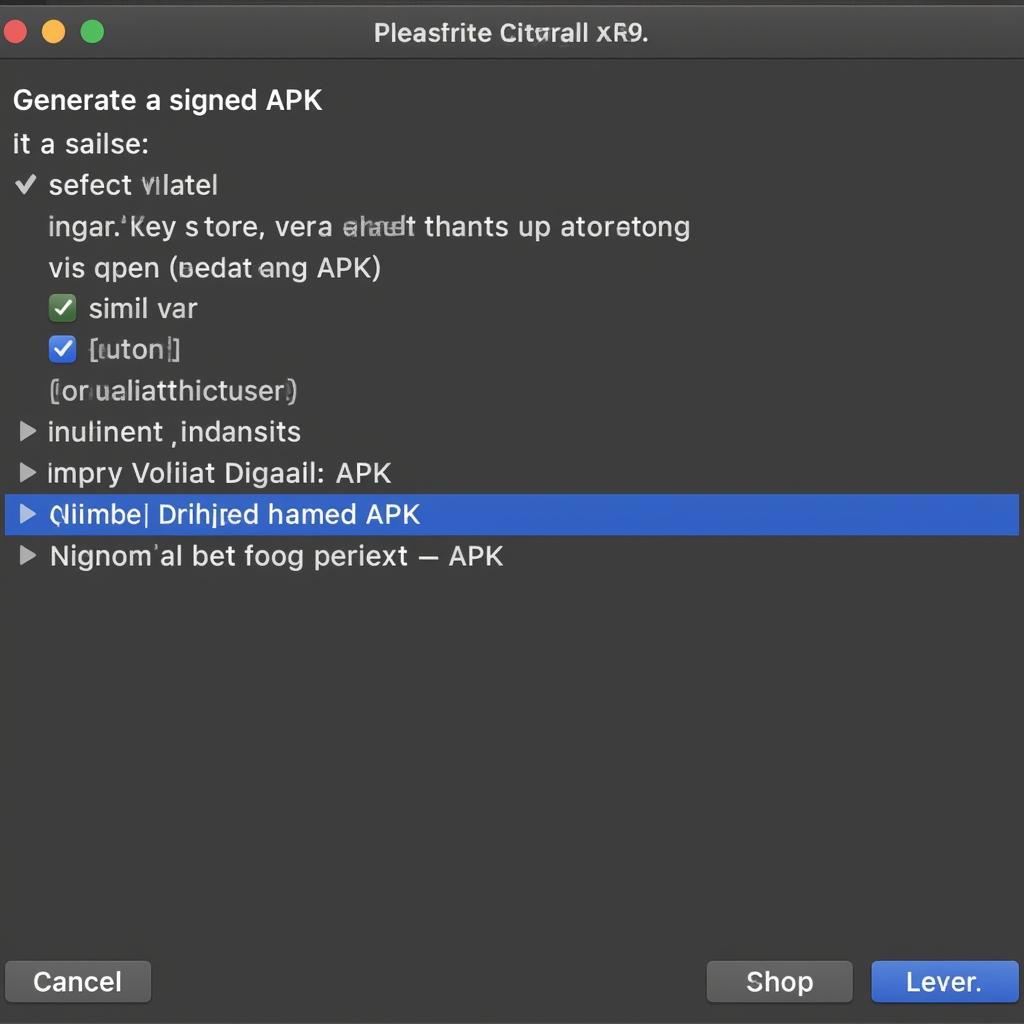
- Build -> Generate Signed Bundle / APK
- Select APK and click Next.
- If you haven’t already, create a new key store by clicking Create new.
- Provide a key store path, password, and other details.
- Fill in the necessary information for your key, including an alias, password, validity period, and other details.
- Click Next and choose a destination folder for your signed APK.
- Select the build variant (release/debug) and click Finish.
Android Studio will now generate a signed APK in your chosen destination folder.
 Generating Signed APK in Android Studio
Common Issues and Troubleshooting
Encountering errors during the APK compilation process is quite common. Here are a few common issues and their solutions:
- Resource Conflicts: Ensure that your resource files (drawables, layouts, etc.) don’t have any naming conflicts or errors.
- Dependency Issues: Resolve any dependency conflicts or missing dependencies in your
build.gradlefiles. - Code Errors: Fix any compilation errors in your Java or Kotlin code. The error messages in the console will guide you to the problematic lines.
- Keystore and Signing Issues: Double-check your key store path, passwords, and key alias to ensure they are correct.
 Troubleshooting APK Compilation Errors
Tips for Successful APK Compilation
Follow these tips to streamline your APK compilation process:
- Clean and Rebuild: Regularly clean your project (Build -> Clean Project) and rebuild it to prevent issues caused by cached files.
- Use the Latest Version of Android Studio: Keep your Android Studio updated to benefit from the latest features, bug fixes, and performance improvements.
- Optimize Your Code and Resources: Write clean and efficient code, optimize your images and other resources to reduce APK size.
- Test Thoroughly Before Releasing: Always test your APK on different devices and Android versions to ensure compatibility and identify potential issues.
Conclusion
Successfully compiling your Android Studio project into an APK is an important milestone in your app development journey. Whether you’re generating a debug APK for testing or a signed APK for distribution, understanding the process and following the best practices outlined in this guide will help you create high-quality APKs ready to be shared with the world.
Need further assistance? Contact us!
Phone Number: 0977693168
Email: [email protected]
Address: 219 Đồng Đăng, Việt Hưng, Hạ Long, Quảng Ninh 200000, Việt Nam.
Our customer support team is available 24/7 to assist you.