BlueStacks is a popular Android emulator that allows you to run your favorite mobile apps and games on your computer. But what happens when you find a great app outside the Google Play Store, like an APK file, and want to enjoy it on a larger screen? This guide provides a step-by-step approach to running APK files on Bluestacks, making your Android app experience on PC seamless and convenient.
Installing Bluestacks and Preparing for APK Installation
Before diving into the world of APKs on Bluestacks, you need to ensure you have a solid foundation:
-
Download and Install Bluestacks: Head over to the official Bluestacks website and download the latest version compatible with your operating system (android windows 7 apk). Follow the on-screen instructions to install it on your computer.
-
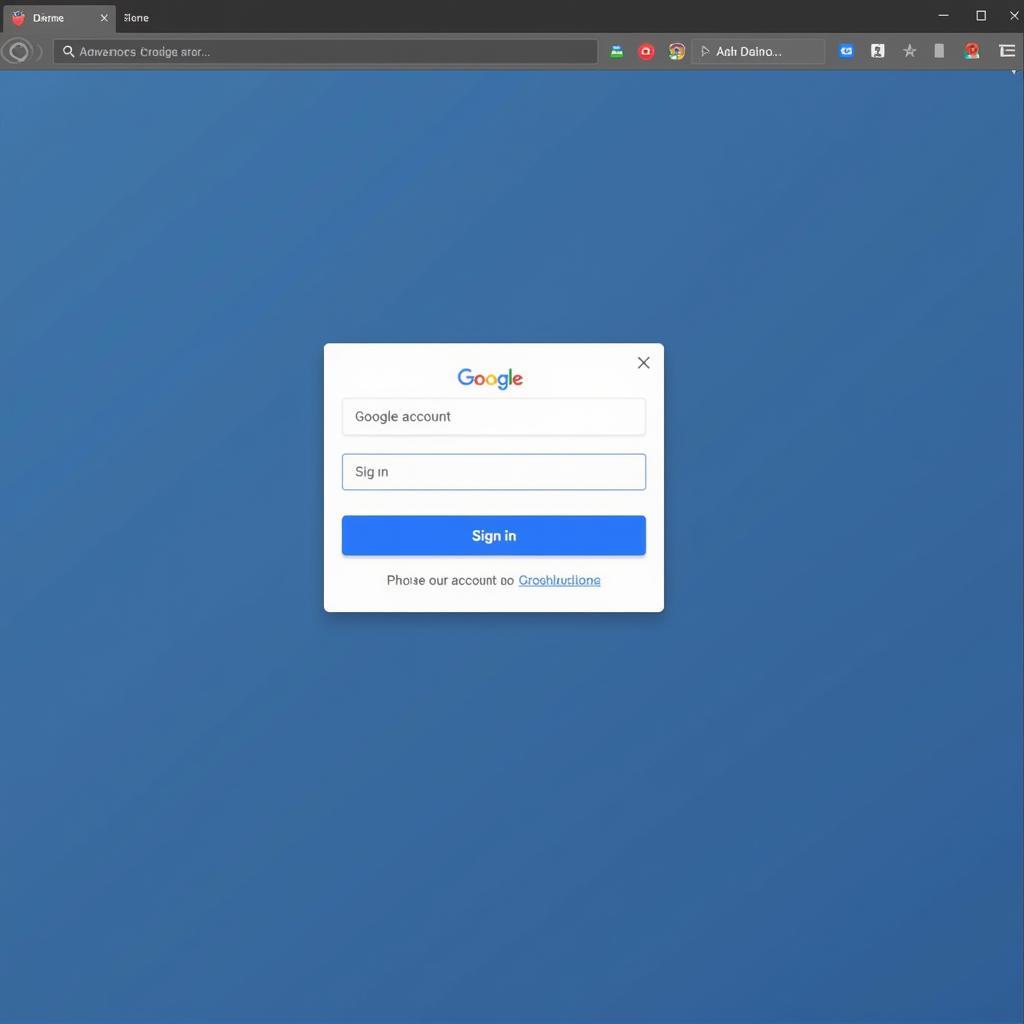
Sign in with your Google Account (Optional): While not mandatory for installing APKs, signing in with your Google account allows you to access the Google Play Store within Bluestacks and synchronize your apps and data.
 Signing in to Google Account on Bluestacks
Methods to Run APK Files on Bluestacks
There are several ways to get those APKs up and running on Bluestacks:
1. Direct Installation from Bluestacks
Bluestacks offers the most straightforward way to install APKs:
-
Locate the APK file: Find the APK file you want to install on your computer.
-
Drag and Drop: Simply drag and drop the APK file onto the Bluestacks home screen.
-
Installation Process: Bluestacks will automatically recognize the file type and start the installation process.
 Dragging and dropping an APK file onto the Bluestacks interface.
2. Using the “Install APK” Button
Bluestacks provides a dedicated button for installing APKs:
- Access “Install APK” option: On the Bluestacks home screen, look for and click the “Install APK” button, usually located at the bottom right corner.
- Browse for the APK: A file explorer window will open. Locate and select the APK file you want to install.
- Initiate Installation: Bluestacks will handle the installation process.
3. Utilizing the Command Line (Advanced Users)
For those familiar with the command line, Bluestacks allows APK installation using commands:
-
Open Command Prompt: Open the command prompt on your computer.
-
Navigate to Bluestacks Directory: Use the “cd” command to navigate to the Bluestacks installation directory. The default location is usually “C:Program FilesBlueStacks”.
-
Execute Installation: Type “adb install” followed by the path to your APK file. For example:
adb install C:UsersYourNameDownloadsMyGame.apk. Press Enter to execute.“Using the command line interface provides a greater degree of control and is particularly useful for advanced users or developers.” – John Smith, Senior Android Developer at Tech Solutions Inc.
Troubleshooting Common Issues
Encountering issues? Here are some solutions:
- “App not installed” error: This could mean the APK file is incompatible with Bluestacks or your computer’s architecture. Try downloading the APK from a different source or ensure it aligns with your system specifications.
- BlueStacks not detecting APK file: Make sure the APK file is downloaded completely and is not corrupted. You can try re-downloading the file.
Conclusion
Running APK files on Bluestacks opens a gateway to a wider range of Android apps and games on your computer. Whether you choose the drag-and-drop simplicity, the dedicated installation button, or the command-line approach, Bluestacks provides the flexibility you need. By following the steps outlined in this guide, you can seamlessly enjoy your favorite Android apps on a larger screen, enhancing your overall Android experience.