Building a React application and deploying it to the Google Play Store can seem daunting, especially for newcomers. This guide provides a detailed walkthrough of the process, covering everything from setting up your React environment to generating a production-ready APK file. Whether you’re building a game, utility app, or anything in between, understanding how to “Build React To Apk” is essential for sharing your creations with the world.
Understanding the Fundamentals: React, APK, and the Bridge Between
Before diving into the step-by-step process, let’s clarify the core components:
- React: A JavaScript library for building user interfaces, known for its component-based architecture and efficiency.
- APK (Android Package Kit): The file format used to distribute and install applications on Android devices.
Essentially, “build react to apk” means transforming your React project into a package that Android devices can understand and run.
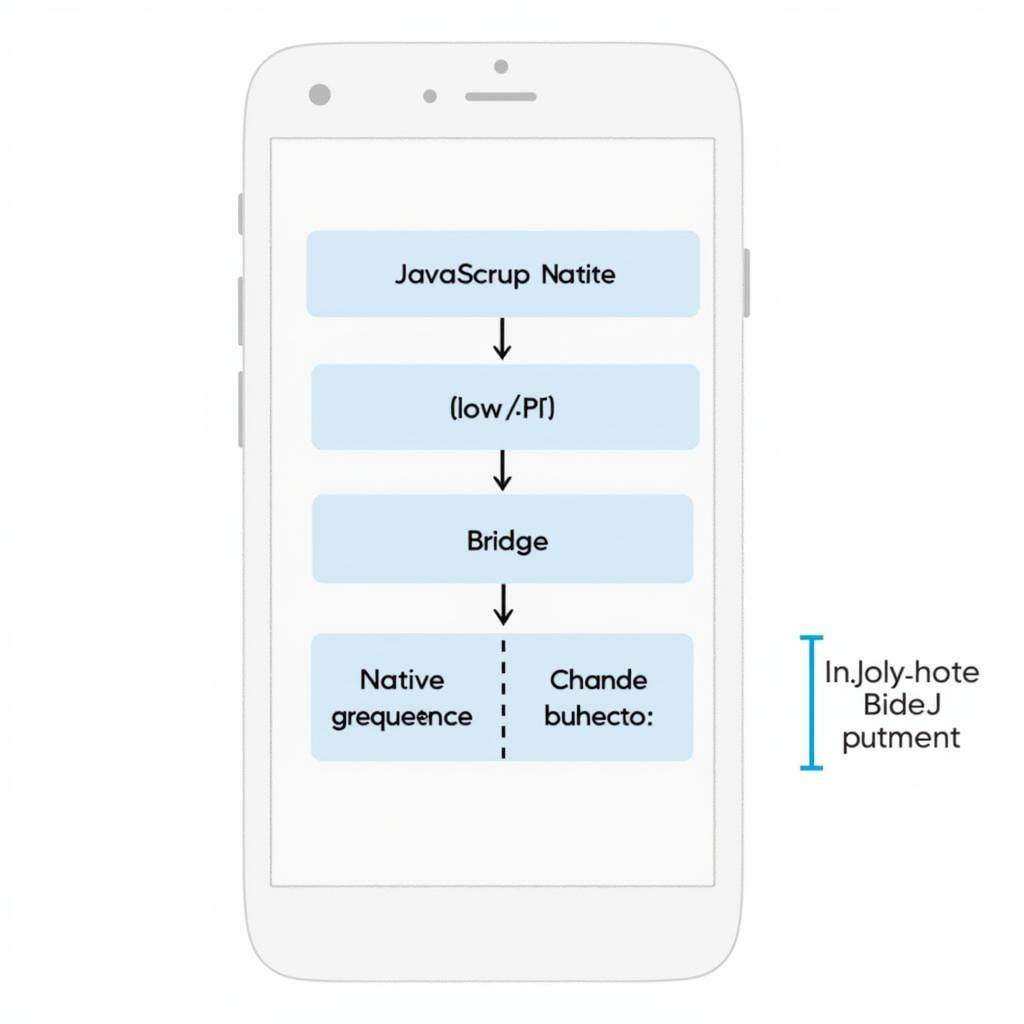
 React Native Architecture
Setting Up Your React Native Environment
- Node.js and npm (or yarn): Ensure you have Node.js and either npm or yarn installed on your system. These tools manage the packages and dependencies your React Native project relies on.
- React Native CLI: Install the React Native command-line interface globally using:
npm install -g react-native-cli - Java Development Kit (JDK): Android development requires a JDK. Download and install a compatible version for your operating system.
- Android Studio: Download and install Android Studio from the official website. During setup, select the “Custom” option and ensure the following components are checked:
- Android SDK
- Android SDK Platform-Tools
- Android Emulator
- Android Virtual Device
Creating Your React Native Project
-
Initialize a new project:
npx react-native init MyReactNativeAppReplace “MyReactNativeApp” with your desired project name.
-
Navigate to the project directory:
cd MyReactNativeApp
Developing Your React Native Application
-
Structure and Components: Organize your project using components, which are reusable building blocks of your user interface.
-
Styling: React Native provides
StyleSheetfor creating styles similar to CSS. -
Navigation (if needed): Implement navigation between different screens of your app using libraries like React Navigation.
Building the APK for Android
-
Connect a Device or Start an Emulator: Connect a physical Android device or start an Android Virtual Device (AVD) within Android Studio.
-
Building the APK:
react-native bundle --platform android --dev false --entry-file index.js --bundle-output ./android/app/src/main/assets/index.android.bundle --assets-dest ./android/app/src/main/resThis command creates an optimized JavaScript bundle.
-
Generate a Signed APK:
- In your project’s
androiddirectory, opengradle.propertiesand add the following:MY_KEY_ALIAS=my-key-alias MY_KEY_PASSWORD=my-key-password MY_STORE_FILE=my-release-key.keystore MY_STORE_PASSWORD=my-store-password - Replace placeholders with your keystore information.
- Run
cd android && ./gradlew assembleReleaseto generate the signed APK.
- In your project’s
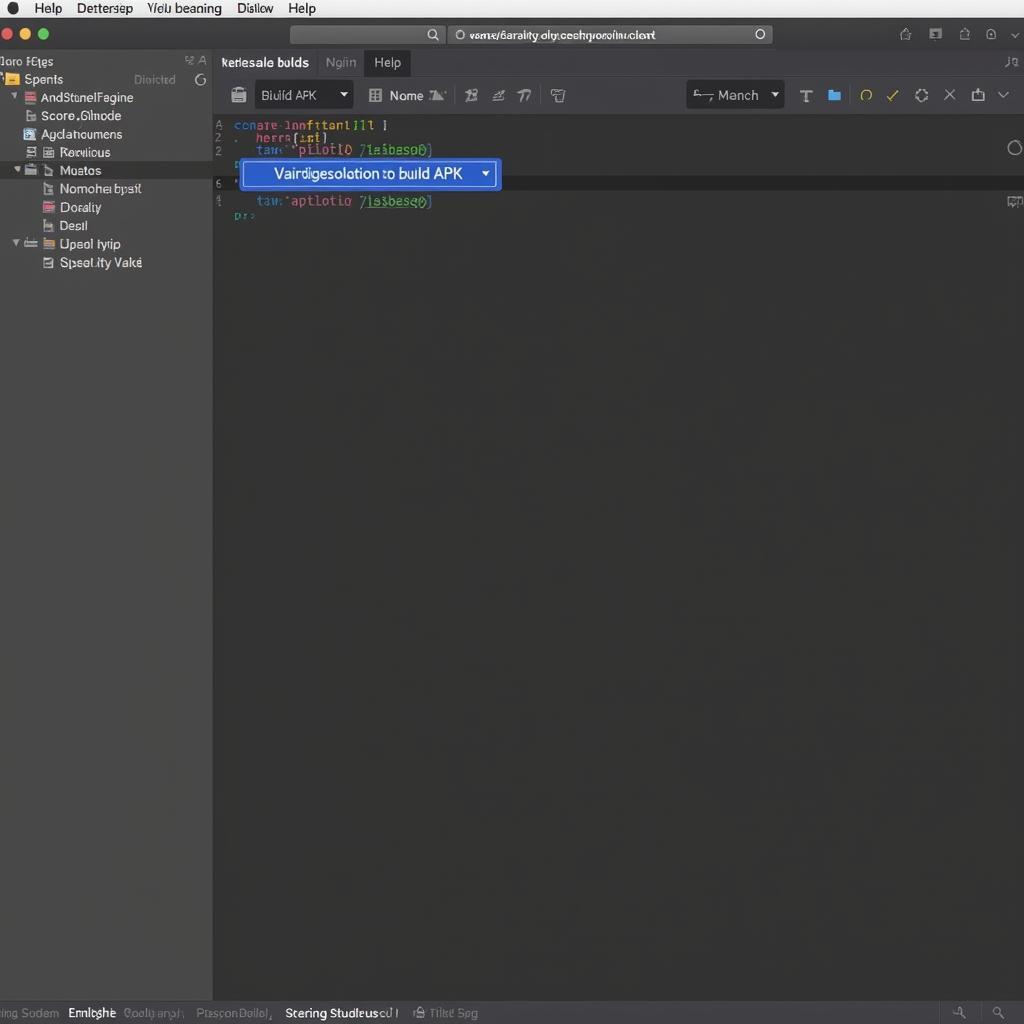
 Building an APK in Android Studio
Testing Your APK
-
Locate the APK: The generated APK file can be found in
android/app/build/outputs/apk/release/. -
Install and Test: Install the APK on your device or emulator to test it thoroughly.
Common Issues and Troubleshooting
-
Dependency Conflicts: Ensure compatibility between React Native versions and other project dependencies.
-
Environment Setup Issues: Double-check your Java, Android Studio, and environment variable configurations.
-
Build Errors: Carefully review error messages for clues on how to resolve them.
Beyond the Basics: Advanced Techniques and Best Practices
-
Code Optimization: Minify and optimize your code for faster loading times and smoother performance.
-
Testing: Implement unit and integration tests to ensure the reliability and stability of your application.
-
Continuous Integration and Delivery (CI/CD): Automate the build and deployment process using CI/CD pipelines.
-
App Signing: Understand the importance of code signing for security and distribution on the Google Play Store.
Conclusion
Mastering the “build react to apk” process empowers you to bring your React Native creations to the vast Android ecosystem. This guide has provided a solid foundation, but continuous learning and experimentation are key to becoming a proficient React Native developer. Keep exploring the ever-evolving world of mobile development.
FAQ
1. What is the purpose of a keystore in Android development?
A keystore is used to digitally sign your APK, ensuring its authenticity and integrity. This is essential for distributing your app on the Google Play Store.
2. Can I build a React Native app for iOS using a similar process?
Yes, the process is similar but requires a macOS environment and Xcode. You’ll use Xcode to build and sign the app for iOS distribution.
3. What are some popular libraries for navigation in React Native?
React Navigation is a widely used and well-supported navigation library for React Native. It offers various navigation patterns, including stack, tab, and drawer navigation.
4. Where can I find more information about React Native development?
The official React Native documentation is an excellent resource for in-depth information, tutorials, and API references.
5. How do I update my React Native app after releasing it on the Play Store?
You can release updates to your app by incrementing the version code in your app’s build.gradle file, generating a new signed APK, and uploading it to the Play Store console.
Need Help? Contact Us!
For further assistance with building your React Native app, please don’t hesitate to contact our team at:
Phone: 0977693168
Email: [email protected]
Address: 219 Đồng Đăng, Việt Hưng, Hạ Long, Quảng Ninh 200000, Việt Nam
We’re available 24/7 to help you bring your app ideas to life!