Ionic 4 empowers developers to build high-quality, cross-platform mobile applications using familiar web technologies like HTML, CSS, and JavaScript. If you’re looking to package your Ionic 4 project into a distributable Android application package (APK), this guide will provide you with a comprehensive walkthrough.
Preparing Your Development Environment
Before we begin, ensure that your development environment is set up correctly. This includes:
-
Node.js and npm: Download and install the latest LTS version of Node.js, which includes npm, from the official website (https://nodejs.org/).
-
Ionic CLI: Install the Ionic command-line interface globally by running
npm install -g @ionic/cli. -
Android Studio: Download and install Android Studio from the official website (https://developer.android.com/studio). During installation, choose to install Android SDK Platform-Tools and Android SDK Build-Tools.
-
Java Development Kit (JDK): Download and install a compatible JDK from the Oracle website (https://www.oracle.com/java/technologies/downloads/).
 Setting Up Ionic 4 Development Environment
Building Your Ionic 4 Project
If you haven’t already, create a new Ionic 4 project using the Ionic CLI:
ionic start myApp blank --type=angularReplace “myApp” with your desired application name. This command generates a basic Ionic 4 project structure.
Navigate to your project directory:
cd myAppAdding Android Platform Support
Add Android platform support to your Ionic 4 project:
ionic cordova platform add androidThis command adds the necessary Cordova plugins and configurations for Android.
Building the APK
Use the following command to build your Ionic 4 app for Android:
ionic cordova build android --releaseThis command compiles your Ionic 4 project and generates a release-ready APK file in the platforms/android/app/build/outputs/apk/release/ directory.
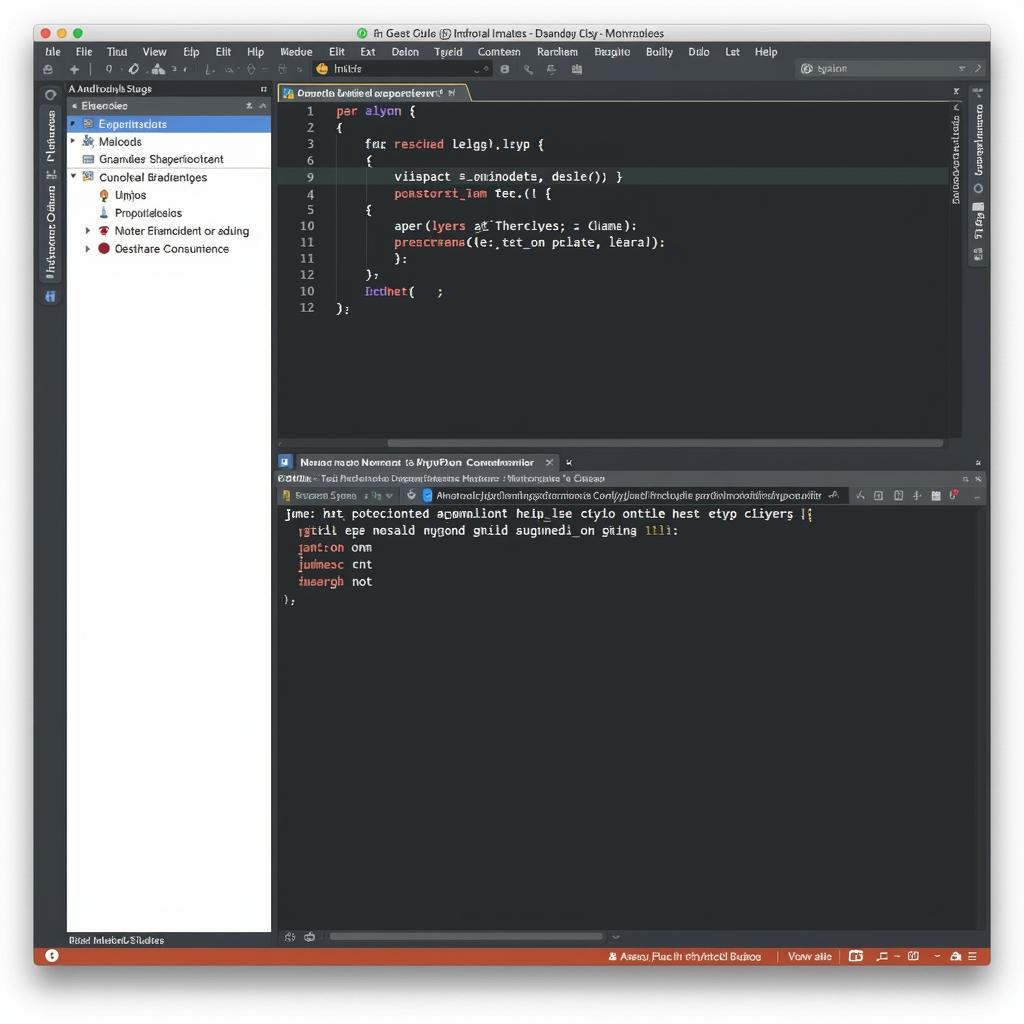
 Building Ionic 4 APK in Android Studio
Signing the APK
To distribute your APK through app stores like Google Play Store, you need to sign it with a digital keystore.
If you don’t have a keystore, you can generate one using the following command in your terminal:
keytool -genkey -alias myAppKey -keyalg RSA -keysize 2048 -validity 10000 -keystore myAppKey.keystoreReplace “myAppKey” with your desired keystore name. You’ll be prompted to provide information for your keystore. Store your keystore file securely.
Once you have your keystore, you can sign your APK using Android Studio:
- Open Android Studio and select “Open an existing Android Studio project”.
- Navigate to your Ionic project directory and select the
platforms/androidfolder. - In Android Studio, go to “Build” > “Generate Signed Bundle / APK”.
- Select “APK” and click “Next”.
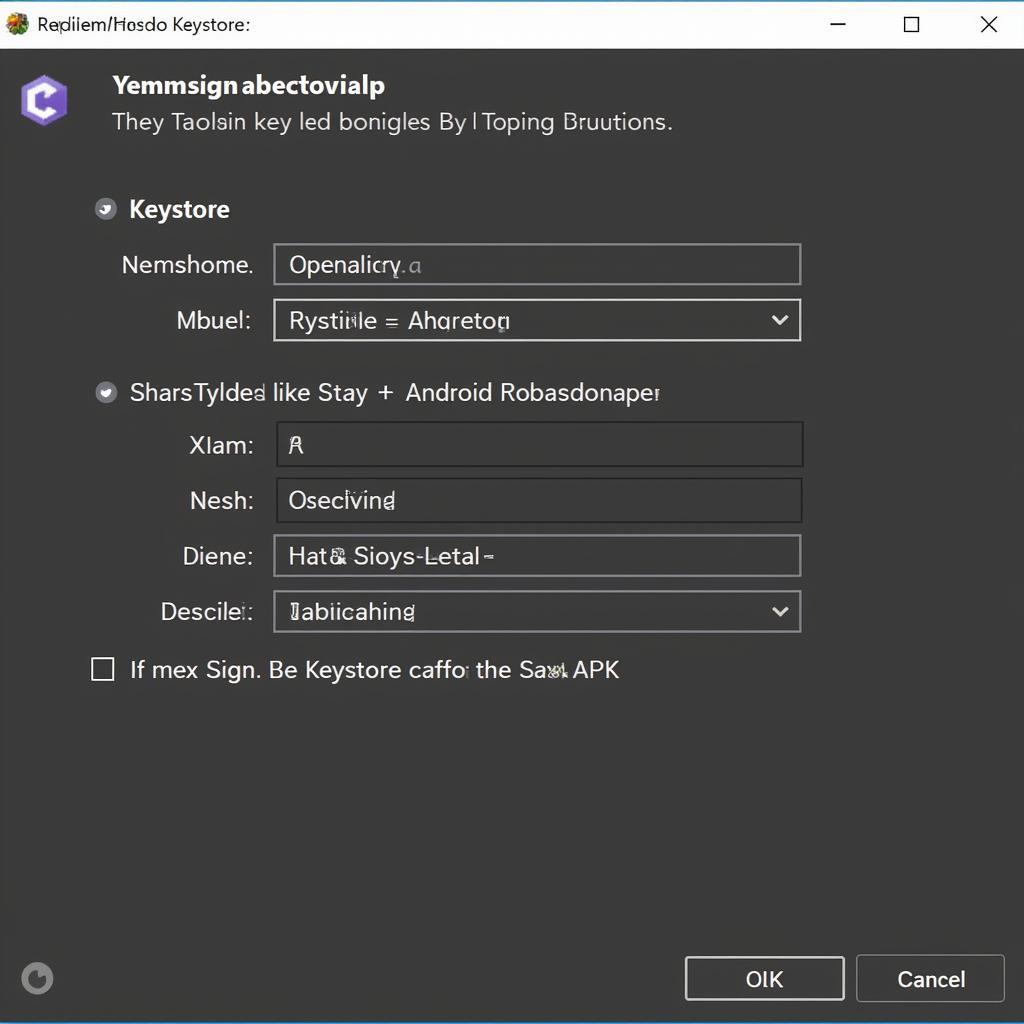
- Click “Create new…” if you need to create a new keystore, or “Choose existing…” if you already have one.
- Fill in the required fields, including your keystore password and key alias.
- Choose a destination folder for your signed APK and click “Finish”.
Android Studio builds and signs your APK.
 Signing the APK in Android Studio
Conclusion
You’ve successfully built and signed a release-ready APK of your Ionic 4 application. You can now distribute this APK through app stores or other distribution channels. Remember to thoroughly test your application on various Android devices to ensure compatibility and optimal performance.
For more information on Ionic development, you can explore resources such as build ionic android apk or build apk file from htmll.
Don’t forget that building a successful app goes beyond just generating an APK. Consider aspects like app store optimization, marketing, and user feedback to maximize your app’s reach and impact.