Building an Android Package Kit (APK) from your project in Android Studio is a crucial step in deploying your app to the Google Play Store or other distribution platforms. This guide will walk you through the entire process, from configuring your project to generating a signed release APK ready for distribution.
Understanding APKs and Release Builds
Before diving into the technical steps, it’s important to grasp the basics. An APK file is essentially a package containing all the necessary components of your Android app, including code, resources, assets, and the manifest file. When you build an APK for release, it means you’re preparing a version optimized for distribution to users. This usually involves code optimization, resource shrinking, and signing the APK with your private key to verify its authenticity.
Steps to Build an APK from Android Studio Release
1. Prepare Your Project for Release
Configure Build Variants:
Android Studio allows you to define different build variants for your app. Go to “Build” > “Edit Build Types” and ensure you have a “release” build type configured.
Generate a Signing Key:
You need a signing key to sign your APK. This key identifies you as the app developer. If you don’t have one, generate it through Android Studio: “Build” > “Generate Signed Bundle / APK” > “Create New” (follow the wizard instructions). Store your keystore file securely.
Set up ProGuard (Optional):
ProGuard can help shrink your code, obfuscate class and method names, and remove unused resources, resulting in a smaller APK size. Enable and configure ProGuard in your “build.gradle” file.
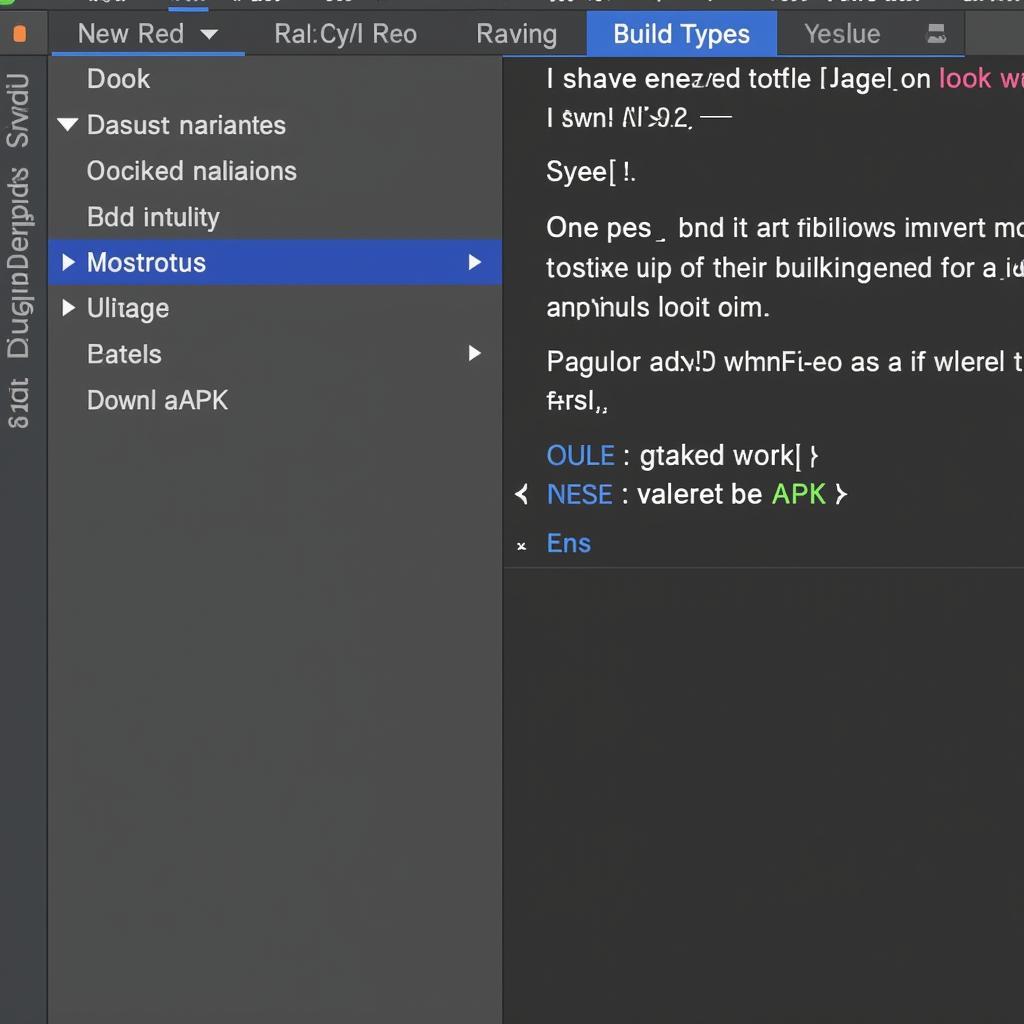 Configuring Build Settings in Android Studio
2. Build the Release APK
-
Navigate to Build APK Option:
In Android Studio, go to “Build” > “Generate Signed Bundle / APK”. -
Select APK and Proceed:
Choose “APK” and click “Next”. -
Provide Signing Information:
Select your existing keystore file, enter the keystore and key passwords, and click “Next”. -
Choose Destination Folder and Build Type:
Specify the destination folder for your APK and select the “release” build variant. -
Finish the Build Process:
Click “Finish” to start the build process. Android Studio will compile your code, package your resources, and generate the signed APK.
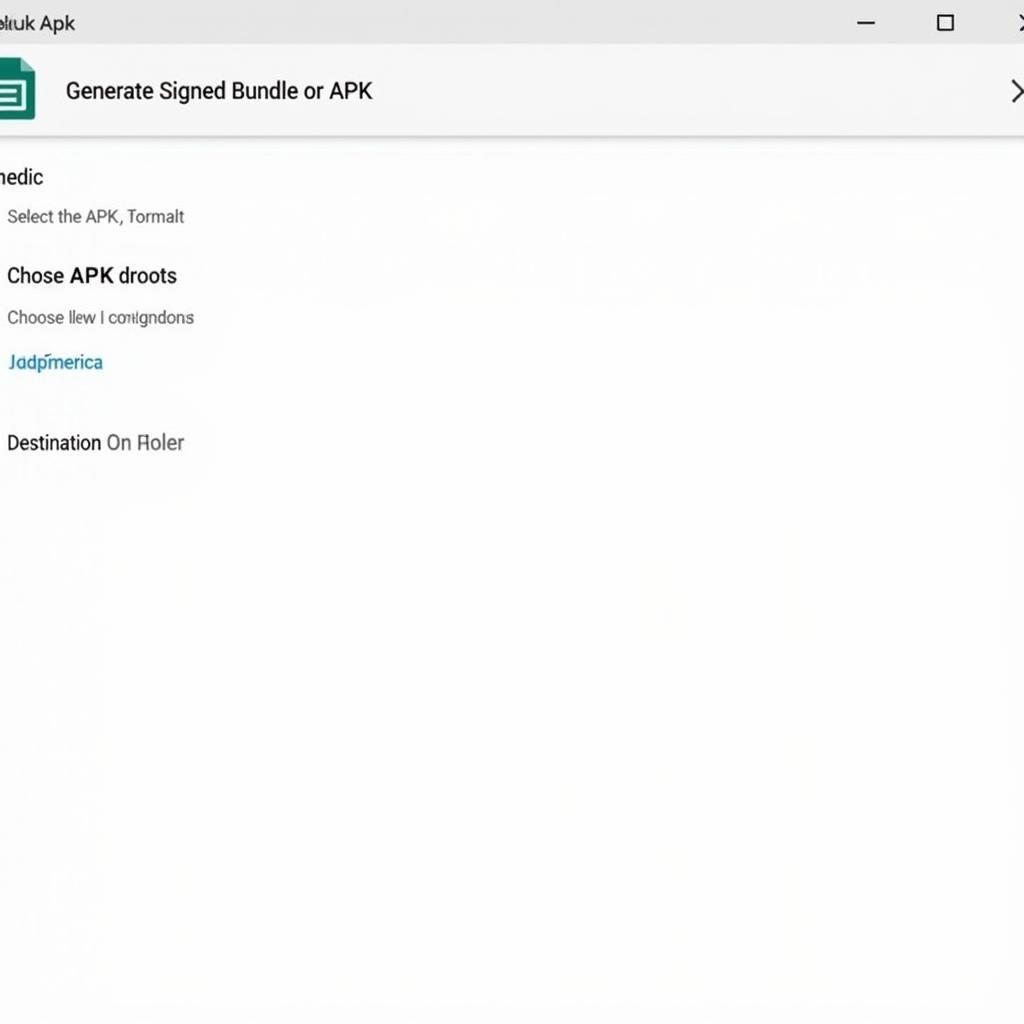 Generating a Signed APK in Android Studio
3. Locate and Distribute Your APK
Once the build process is complete, you can find the APK file in the specified output directory. You can now distribute this APK through various channels:
- Google Play Store: Upload the APK to the Google Play Console for distribution to millions of Android users.
- Third-Party App Stores: Several alternative app stores exist where you can publish your APK.
- Direct Distribution: You can distribute the APK directly through your website or other means, allowing users to download and install it manually.
Tips for Building Release APKs
- Test Thoroughly: Always thoroughly test your release build on various devices and Android versions to ensure stability and functionality.
- Optimize for Size: Utilize ProGuard or R8 shrinking to reduce your APK size, leading to faster downloads for users.
- Follow Google Play Policies: Adhere to Google Play Store policies when building and publishing your app.
- Keep Your Keystore Safe: Your signing key is crucial for future updates. Store it securely and never share it publicly.
Building an APK from Android Studio is a straightforward process once you understand the steps. By following these guidelines, you can create a release-ready APK to share your Android application with the world.