Building an APK (Android Package Kit) from your React Native app is a crucial step in deploying your app to the Google Play Store and making it accessible to millions of Android users. This guide will walk you through the process, ensuring you have the knowledge to build a high-quality APK ready for distribution.
Understanding the Basics
Before diving into the technicalities, let’s clarify some key concepts:
- React Native: A popular JavaScript framework for building cross-platform mobile apps using a single codebase.
- APK: The file format Android uses to distribute and install apps.
- Build Process: The series of steps that transform your React Native code into an optimized APK file.
Prerequisites: Setting Up Your Development Environment
Before starting the build process, make sure you have the following:
- Node.js and npm (or yarn): Download and install the latest stable versions from the official website (https://nodejs.org/).
- React Native CLI: Install it globally using the command:
npm install -g react-native-cli - Android Studio: Download and install Android Studio from the official website (https://developer.android.com/studio). During the installation process, make sure to install the required SDKs and tools for React Native development.
- Java Development Kit (JDK): Android Studio usually comes bundled with JDK. However, verify that you have a compatible JDK version installed.
 React Native Development Environment
Step-by-Step Guide to Building Your APK
1. Prepare Your React Native Project
- Navigate to your project directory: Open your terminal or command prompt and use the
cdcommand to navigate to the root directory of your React Native project. - Install dependencies: Ensure all project dependencies are installed by running
npm installoryarn install.
2. Generate a Signed APK
- Open Android Studio: Launch Android Studio and open the
androidfolder located in your React Native project’s root directory. - Generate a Keystore (if you don’t have one): A keystore is a secure container for your app’s signing key. If you haven’t already, generate a new one:
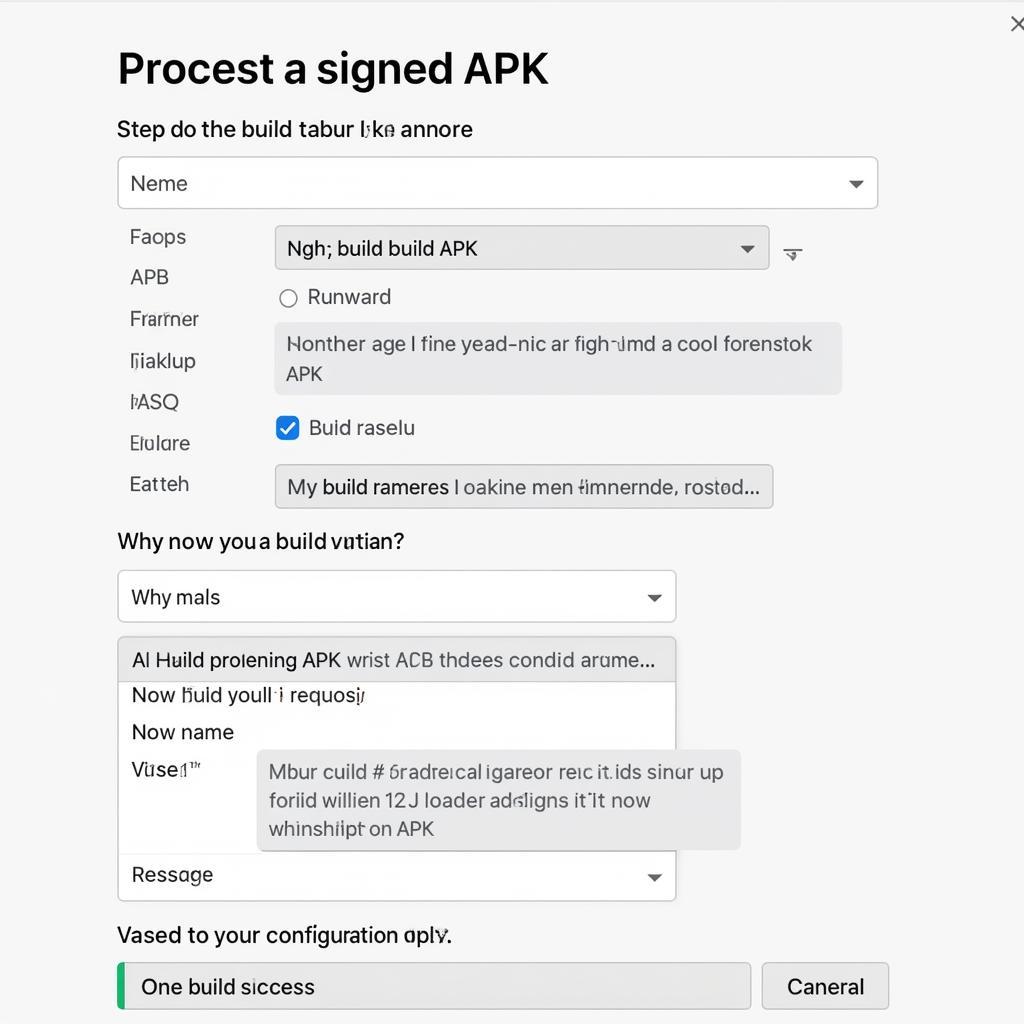
- Click “Build” > “Generate Signed Bundle / APK…”
- Select “APK” and click “Next.”
- Click “Create new…” to generate a new keystore file. Fill in the required information and ensure to remember your keystore password.
- Build the APK:
- In the “Generate Signed Bundle or APK” window, select your module (usually “app”) and choose the “release” variant.
- Select your existing keystore, enter the keystore and key passwords, and click “Next.”
- Choose a destination folder for your APK and select the “release” build type.
- Click “Finish” to start the build process.
 Building an APK in Android Studio
3. Locate Your APK
- Once the build process is complete, you can find your signed APK in the specified output directory.
Common Issues and Troubleshooting
- Build errors: Pay close attention to any error messages during the build process. These messages often provide valuable clues to resolve issues. Check the React Native documentation and community forums for solutions.
- Dependency conflicts: Ensure your React Native and Android Studio versions are compatible and that your project dependencies are up-to-date.
- Keystore problems: Double-check your keystore path, passwords, and aliases. Any mismatch can lead to signing errors.
“When building for production, it’s crucial to address every single warning message during the build process. These warnings often point to potential issues that can affect your app’s performance or compatibility.” – [Expert Name], Senior Android Developer at [Reputable Company]
Optimizing Your APK
- Reduce APK Size: A smaller APK size can improve download and installation times. Use techniques like ProGuard for code shrinking and optimization.
- Enable ProGuard: ProGuard can obfuscate your code, making it harder to reverse-engineer, and remove unused code, reducing the APK size.
- Optimize Assets: Compress images and other assets to reduce their footprint within the APK.
Conclusion
Building your React Native app into a distributable APK is a significant step towards launching your app on the Google Play Store. By carefully following the steps outlined in this guide and understanding the underlying concepts, you can confidently build a high-quality APK, ready to reach a vast Android audience.